Optimal Timing for Lazy Susan Repairs
Lazy Susan repairs are most effectively scheduled during periods of low household activity or before significant events that involve extensive use of the rotating tray. Timely maintenance can prevent further damage and prolong the lifespan of the hardware and wood components.
Addressing issues as soon as they appear prevents more costly repairs later.
Perform repairs ahead of gatherings to ensure smooth operation.
Incorporate Lazy Susan maintenance into renovation schedules for convenience.
Repair before relocating to avoid damage during transit.
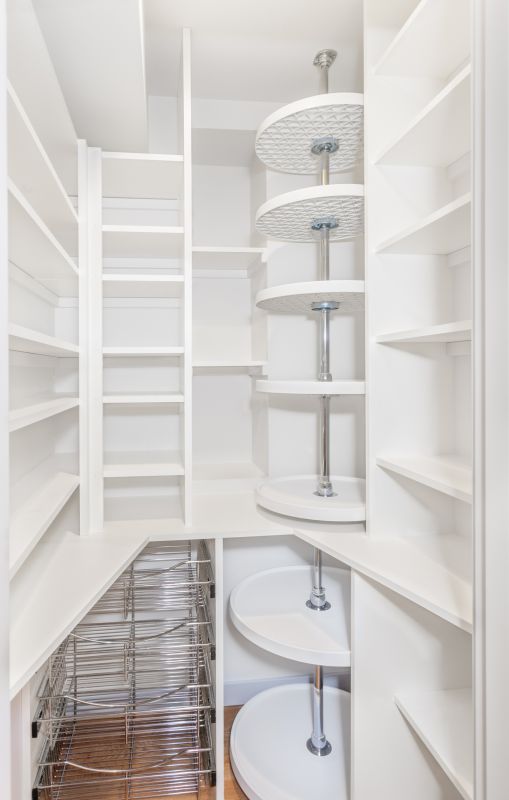
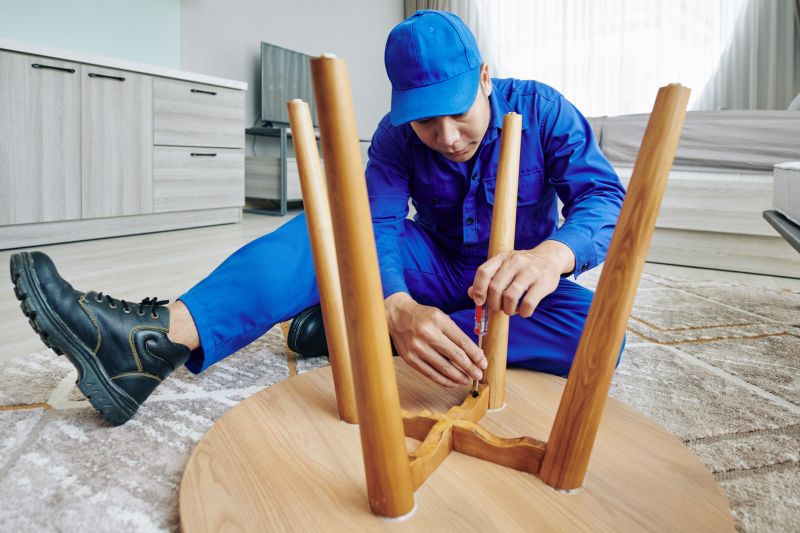
Removing the tray for inspection and repair.

Applying lubricant to ensure smooth rotation.
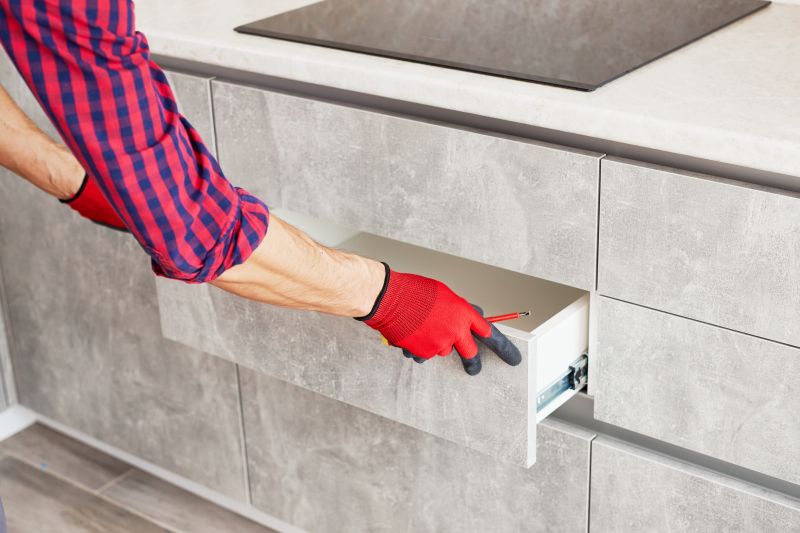
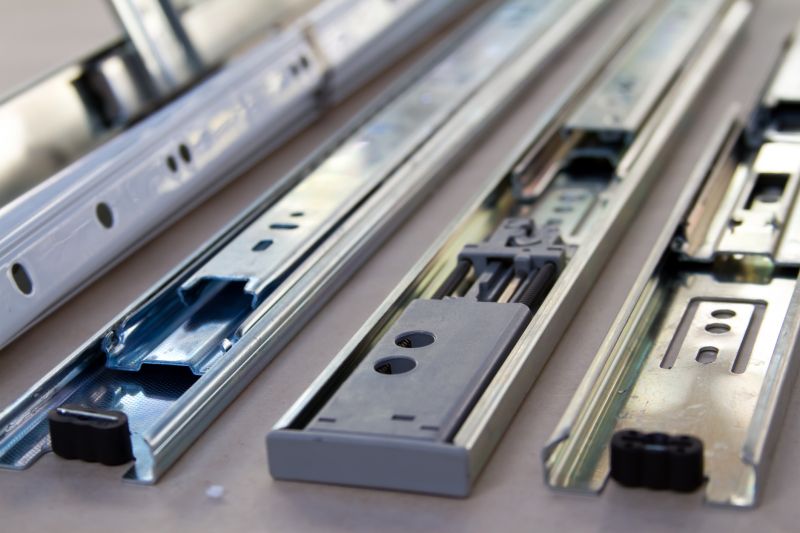
Swapping out damaged or worn-out components.
Ways to make Lazy Susan Repairs work in tight or awkward layouts.

Popular materials for Lazy Susan Repairs and why they hold up over time.

Simple add-ons that improve Lazy Susan Repairs without blowing the budget.
| Scenario | Recommended Repair Timing |
|---|---|
| Signs of sticking or uneven rotation | Immediately upon noticing |
| Before hosting large gatherings | Prior to event |
| During home renovations | Concurrent with renovations |
| Moving to a new home | Prior to moving |
| Routine maintenance | Seasonally or annually |
Lazy Susan repairs involve various components, including bearings, hardware, and the wooden or glass tray. Proper maintenance can restore functionality and appearance, extending the tray’s lifespan. Statistics indicate that regular inspections and timely repairs can reduce the need for complete replacements by up to 40%. Common issues include wobbling, difficulty turning, or visible damage to the hardware or surface.

Worn or broken bearings can cause rotation issues.
Ensures smooth and even rotation.

Refinishing can restore appearance and prevent splinters.

Proper lubrication reduces friction and noise.

High-end options that actually feel worth it for Lazy Susan Repairs.

Finishes and colors that play nicely with Lazy Susan Repairs.

Little measurements that prevent headaches on Lazy Susan Repairs day.

A 60-second routine that keeps Lazy Susan Repairs looking new.
A frequent mistake in Lazy Susan Repairs and how to dodge it.

Small tweaks to make Lazy Susan Repairs safer and easier to use.

Lower-waste or water-saving choices for Lazy Susan Repairs.
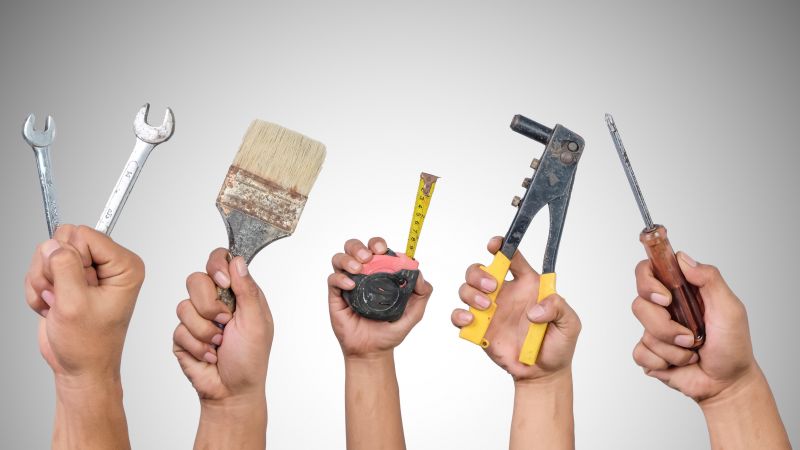
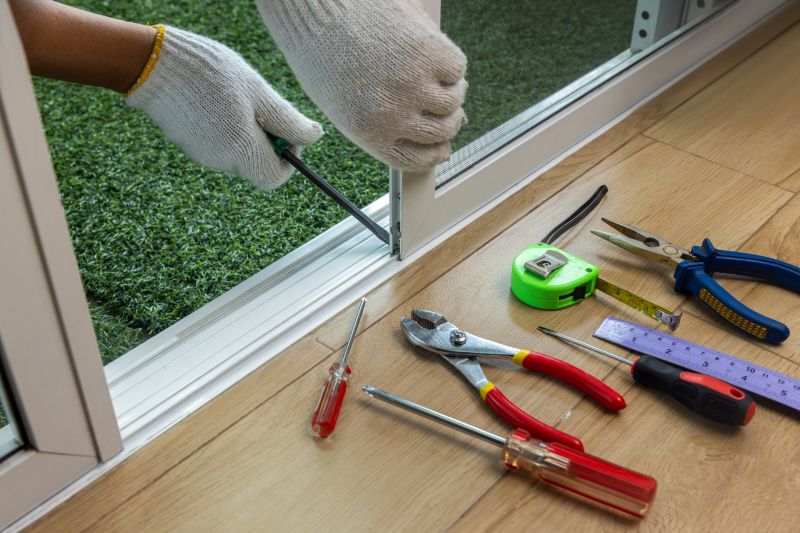
The short, realistic tool list for quality Lazy Susan Repairs.
Timely repairs help maintain the functionality and aesthetic appeal of Lazy Susan trays. Regular inspections can identify issues before they become severe, saving time and expense. Proper maintenance includes cleaning, lubrication, and replacing worn hardware, which collectively ensure smooth and silent rotation.

A fully restored rotating tray.

New hardware enhances durability.

Optimal functioning after repairs.

Rough timing from prep to clean-up for Lazy Susan Repairs.

Quick checks and paperwork to keep after Lazy Susan Repairs.

Examples that show the impact a good Lazy Susan Repairs can make.
Interested in Lazy Susan repairs? Filling out the contact form can provide more information and schedule a maintenance appointment. Proper timing and maintenance ensure the longevity and performance of this functional kitchen feature.